FireBeetle 2 ESP32-C6 as a low-cost sensor for the ESP32 weather station
Building the ESP32 weather station is basically quite simple. However, obtaining the sensor boards is somewhat more difficult, as these must first be ordered from a manufacturer such as JLCPCB. However, it is not guaranteed that all components will always be available and, above all, orders in small quantities are quite expensive. My ten boards cost around 200 euros including shipping, plus the cost of customs.
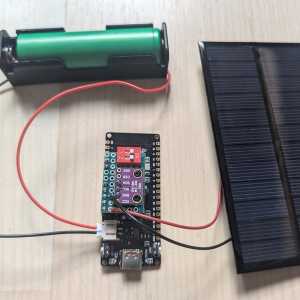
Recently, however, I came across the FireBeetle 2 ESP32-C6 board from DFROBOT, which sounds very interesting. DFROBOT kindly provided me with some boards to develop a cheaper and easier to build version of the sensor.
The ESP32-C6
For the first time in the ESP32 family, the ESP32-C6 combines the fast and efficient Wi-Fi 6 standard with the open RISC-V processor architecture, which is already used in the ESP32-C2, ESP32-C3 and ESP32-H2 models. The switch from the proprietary Xtensa architecture to RISC-V in the newer ESP32 models offers a number of advantages:
- Openness and Flexibility: RISC-V is an open instruction set architecture developed and supported by a broad community. This allows for greater flexibility and adaptability compared to proprietary architectures like Xtensa.
- Cost Efficiency: Since there are no licensing fees, RISC-V-based processors can be manufactured more cost-effectively.
- Future-Proofing: The growing popularity of RISC-V and the broad support from the industry ensure that this architecture will continue to play an important role in the future.
Key Features of the ESP32-C6
The ESP32-C6 offers a range of features that make it an attractive choice for a variety of IoT applications:
- Two RISC-V Cores: A powerful core with up to 160 MHz clock speed for demanding tasks and a power-saving core with up to 20 MHz clock speed for background operations.
- Memory: The chip has 320 KB ROM, 512 KB SRAM, and supports external flash memory.
- Wi-Fi 6 (802.11ax): Enables faster data transfer rates, higher capacity, and better performance in environments with many devices.
- Bluetooth 5 (LE): Supports Bluetooth Low Energy for energy-efficient connections with smartphones, wearables, and other devices.
- 802.15.4 Protocol: Enables integration into mesh networks like Zigbee and Thread, which are particularly relevant for smart home applications. The support for Thread is especially important as it is the primary network protocol for the new smart home standard Matter.
- Extensive Peripherals: The ESP32-C6 offers a variety of interfaces, including SPI, UART, I2C, I2S, RMT, TWAI, PWM, SDIO, and Motor Control PWM.
- ADC and Temperature Sensor: An integrated 12-bit ADC and a temperature sensor expand the possible applications of the ESP32-C6.
he ESP32-C6 offers flexible power management by adjusting the clock frequency, Wi-Fi modes, and power consumption of internal components. To simplify this, predefined modes are available that supply power to different combinations of components:
- Active Mode: All components are active to enable data processing, transmitting, and receiving.
- Modem-Sleep Mode: The main CPU remains active but can operate at a reduced clock frequency. Wireless connections can be maintained by periodically turning the RF circuits on and off.
- Light-Sleep Mode: The main CPU is paused but can optionally remain powered. Low-power components and the low-power CPU can be periodically activated. The chip can be awakened by various mechanisms while maintaining active wireless connections.
- Deep-Sleep Mode: Only the low-power system remains active. Wireless connection data is stored in low-power memory to allow quick recovery upon waking. In this mode, power consumption is only 7 µA.
This flexible control of power consumption allows the ESP32-C6 to be optimally adapted to specific requirements, making it particularly suitable for use in battery-powered devices.
The FireBeetle 2 ESP32 C6 Board
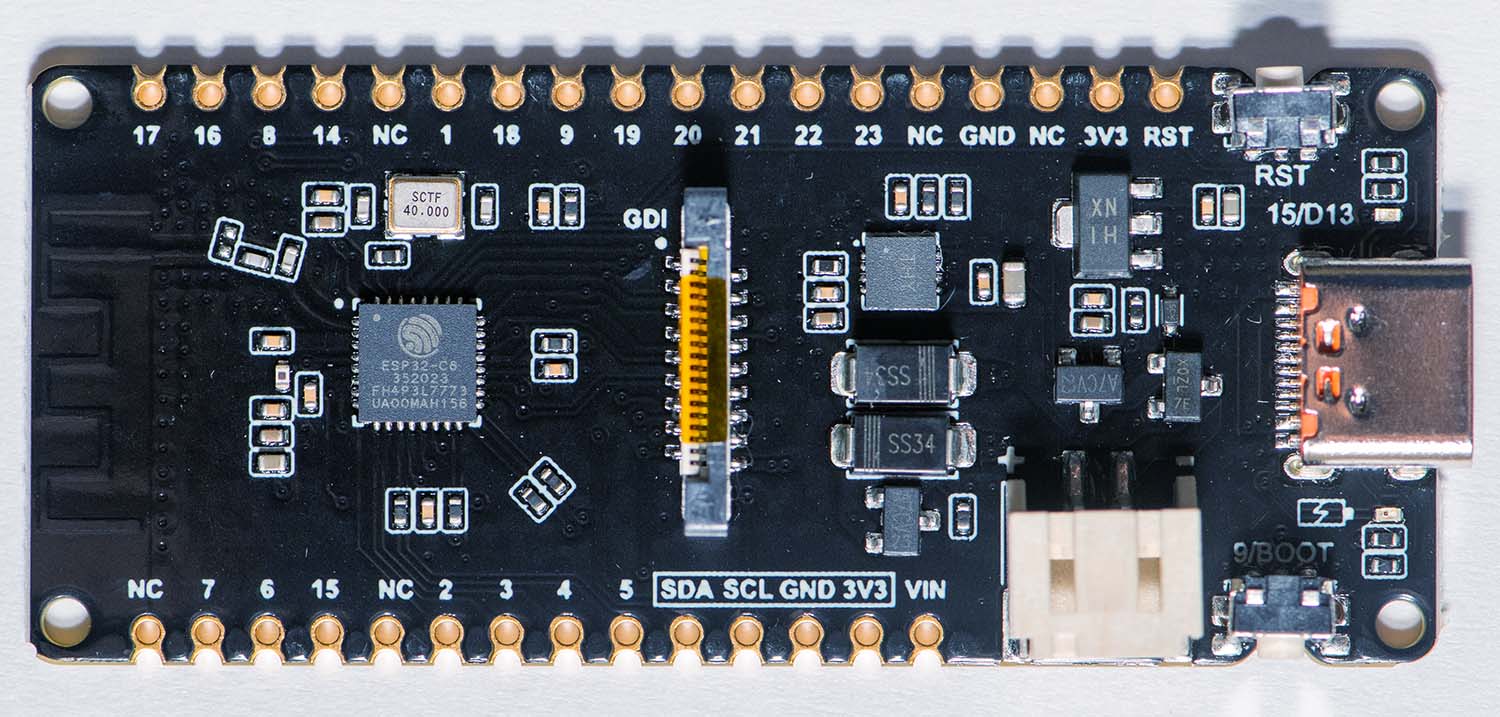
There are now many development boards with the ESP32-C6 on the market. However, the board from DFROBOT has some features that make it ideal for use as a sensor for the weather station:
- Low power consumption with 16 uA in deep-sleep mode.
- Power supply via USB-C or lithium-ion battery.
- Built-in charge controller for charging the battery via solar cells.
- Voltage divider for monitoring the battery voltage.
The board also offers a GDI interface for easy connection to displays, which I am not using at the moment. However, it would certainly be interesting to have a small display on the sensor itself for showing the current sensor readings.
All technical details are described in a wiki, and there are also some Arduino and MicroPython tutorials available.
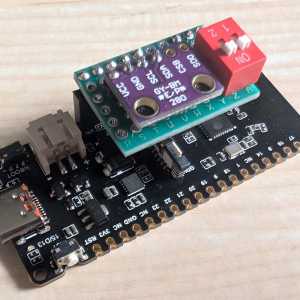
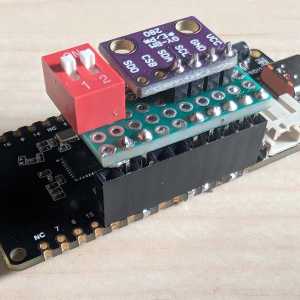
The board might not win any beauty awards, but it works. Since more and more people around me are now wanting such a weather station, it would probably be wise to design a proper PCB. I will update the article when that happens.
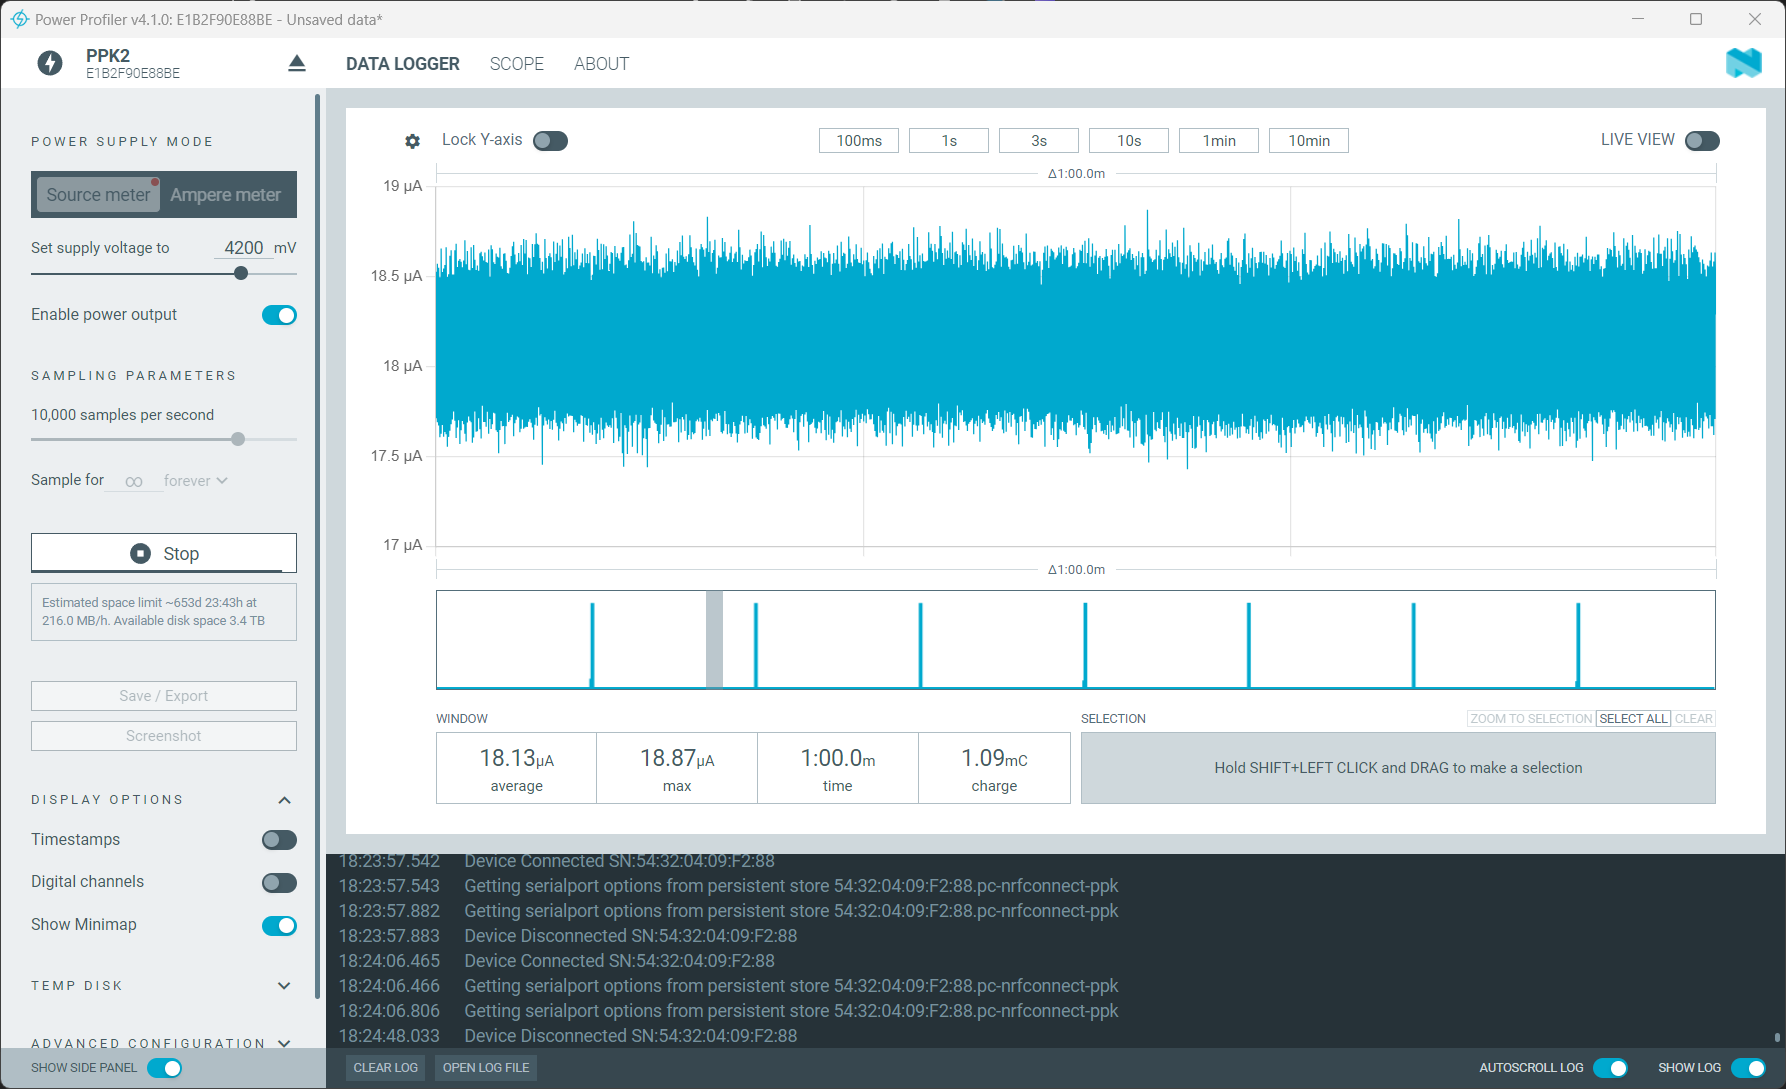
Of course, I also measured the power consumption of the FireBeetle board using the Power Profiler Kit II. Here are the results. First, the consumption in deep-sleep mode:
The value of 18.13 µA is just slightly above DFROBOT's specification, but in my case, the power consumption of the BME280 is also included.
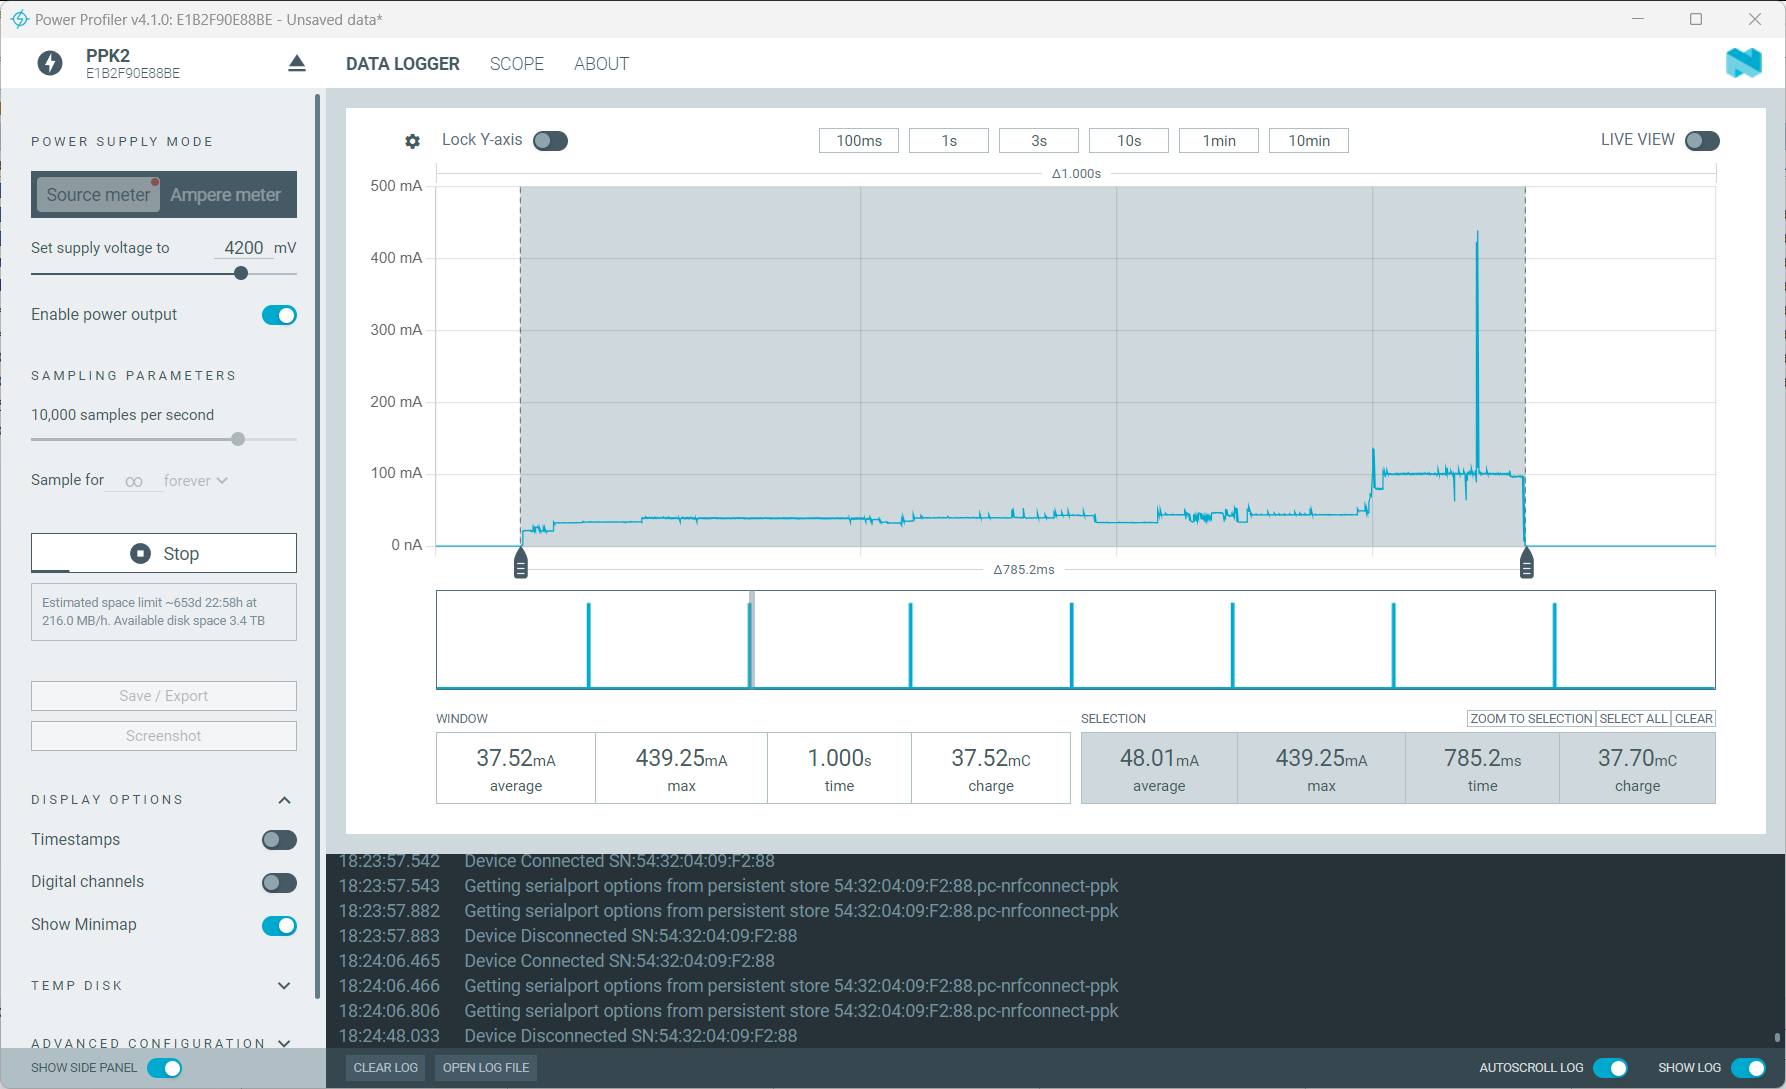
During the active phase, the power consumption is as follows:
When sending data, the board reaches a relatively high value of 439 mA. In comparison, the ESP32 on my self-designed board only reaches 309 mA.
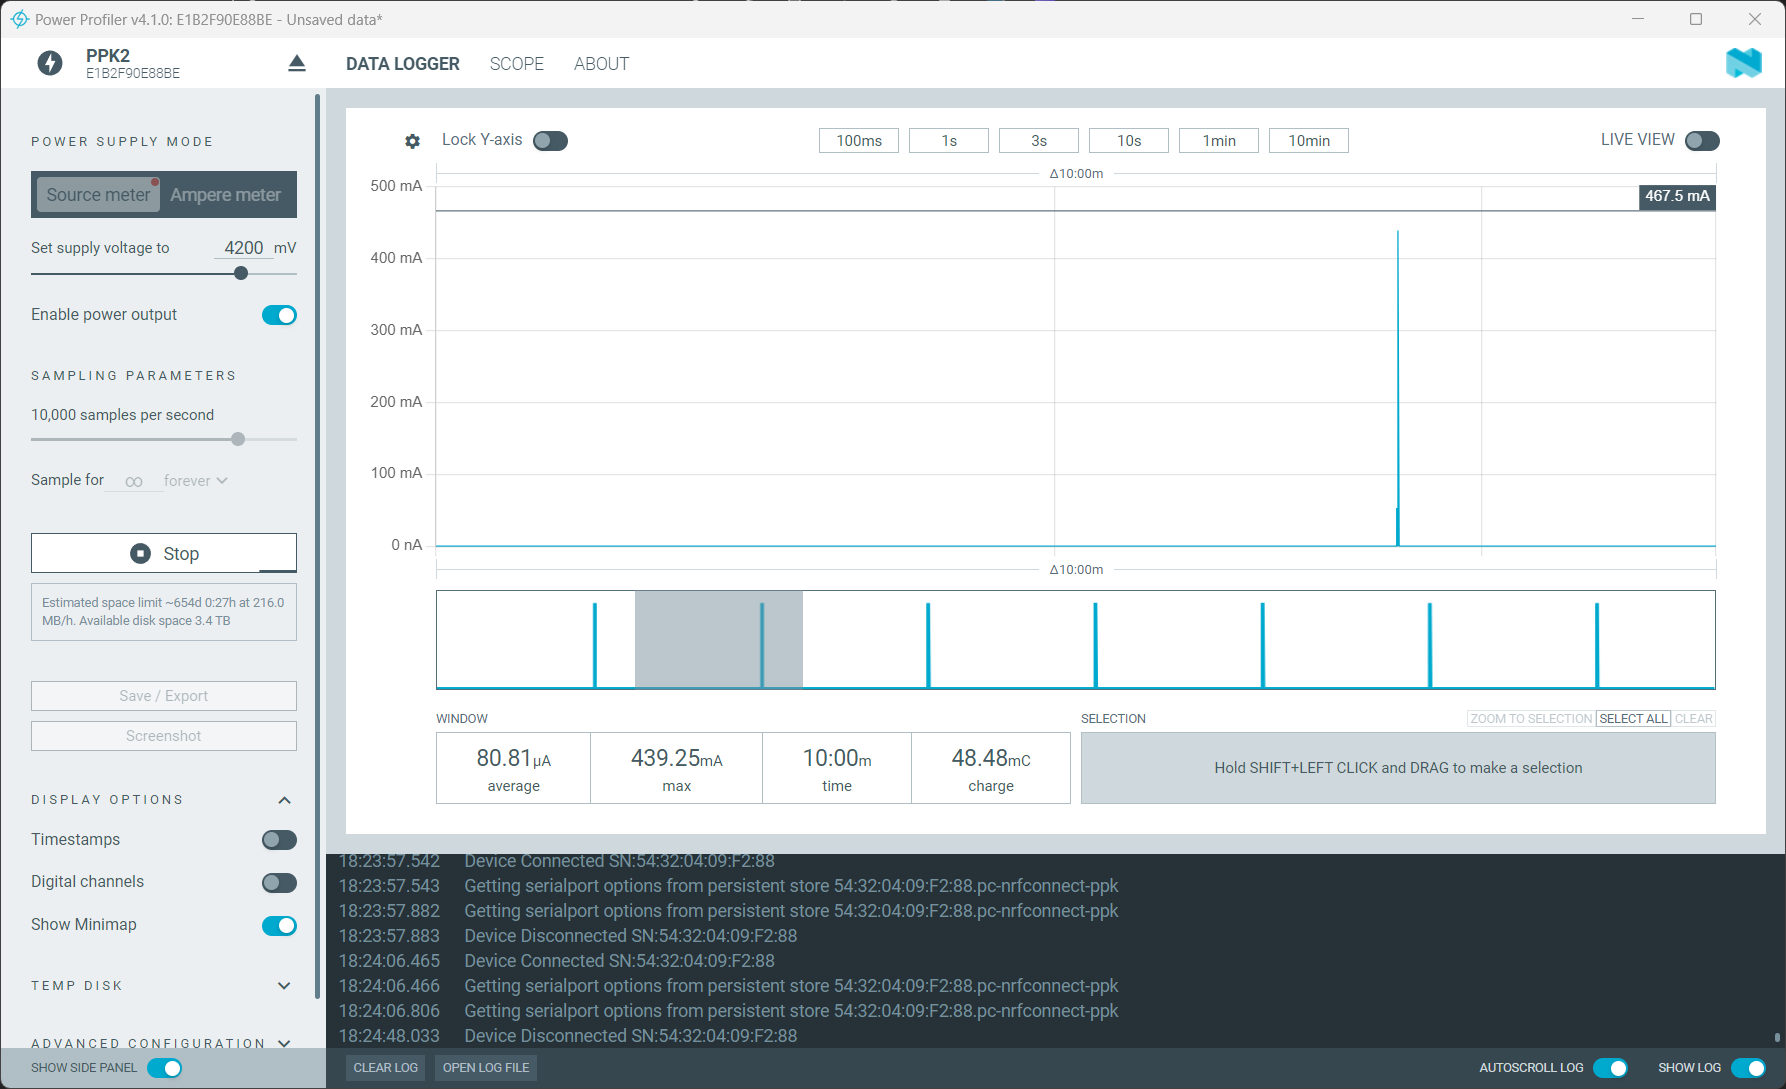
However, the really interesting value is the average over the 10-minute interval during which the sensor operates:
The value of 80.81 µA is almost identical to my board, which has a value of 80.40 µA. Thus, this combination is very well suited as a sensor for the weather station. Additionally, the cost for this version of the sensor is significantly lower than my own board. The FireBeetle 2 ESP32-C6 costs only about 5.90 euros, plus the BME280, which can be found on AliExpress for as little as 2.60 euros, and the DIP switch, which costs around 16 cents. Altogether, this comes to under 10 euros, though possible shipping costs are not included.
I have adapted the code for the sensor to the ESP32-C6, and it is available on GitHub.
When I have the opportunity, I will also design a suitable enclosure. Only the holes for the board need to be adjusted; the rest is identical.
