Quiet Case Fan for the Minisforum UM690S
I built my last PC almost ten years ago. At the time, it was quite powerful, and I was very satisfied with it all these years. But technology advances, and since Microsoft decided to no longer support perfectly functioning PCs with Windows 11, I would have encountered a problem sooner or later anyway.
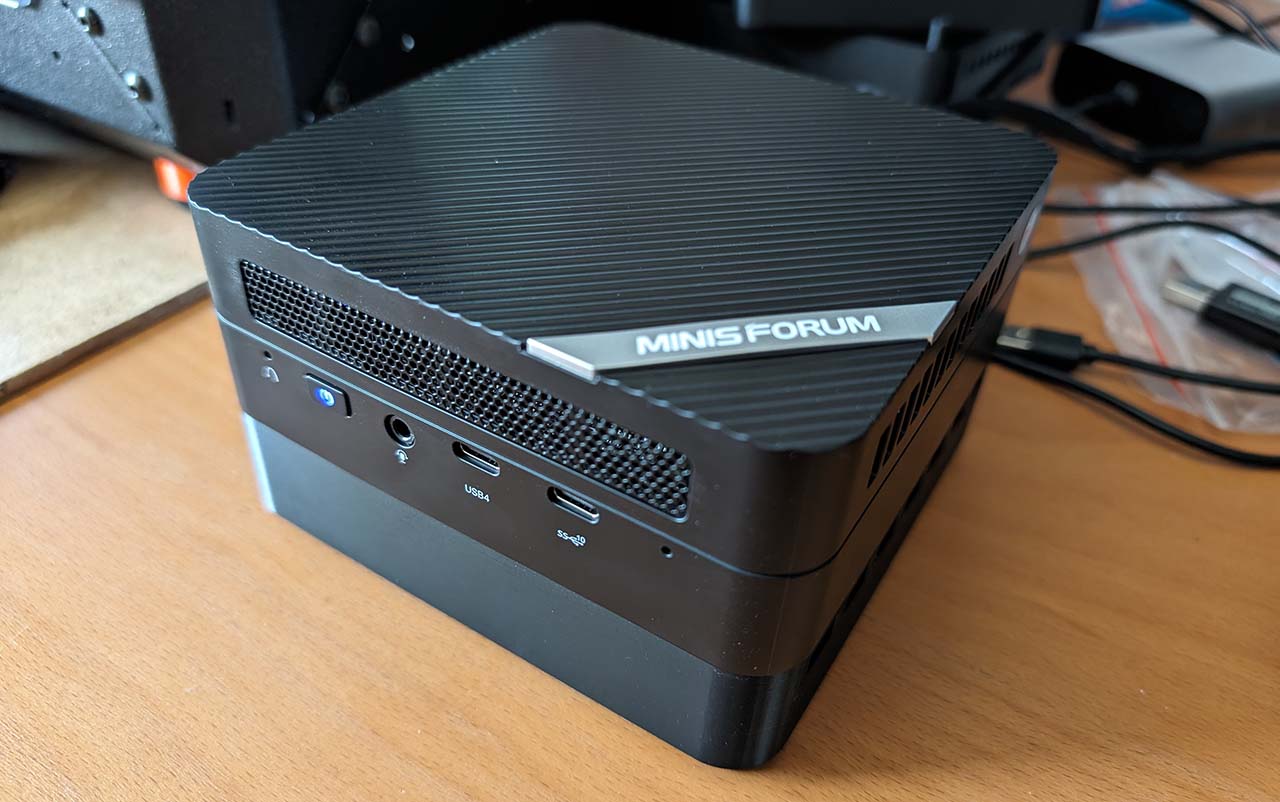
My new PC is the first computer I did not build myself. Instead, I chose a Minisforum UM690S because it's one of the few Mini-PCs where you can still install a SATA SSD.
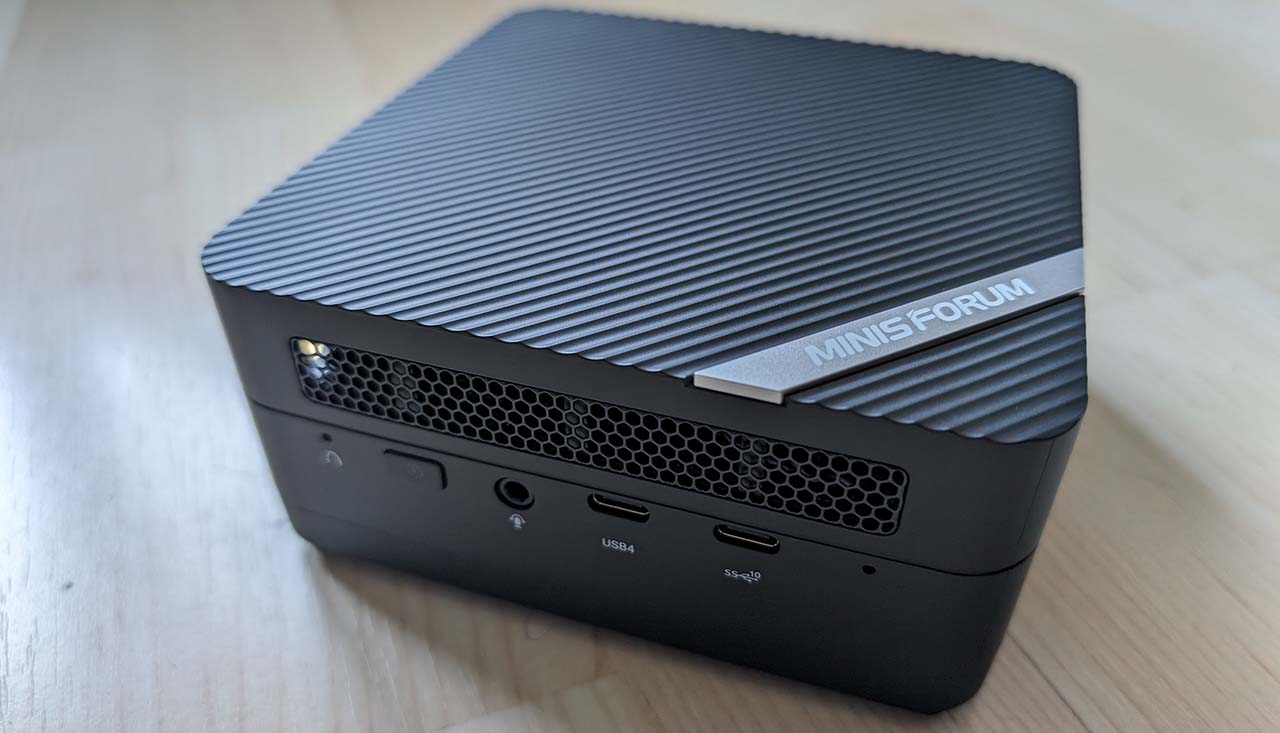
Despite its compact design, the small PC is very powerful:
- AMD Ryzen 9 6900HX, 8 cores/16 threads
- AMD Radeon 680M (2400 MHz)
- 32 GB DDR5 RAM
- M.2 2280 PCIe 4.0 SSD
- 2.5 inch SATA HDD slot (SATA 3.0, 6.0Gb/s)
- Wi-Fi, Bluetooth
- 2 x HDMI (4K@60Hz)
However, the small computer has one drawback. The two case fans are quite loud and run at full speed all the time. Therefore, I decided to make a small modification to replace the case fans.
A warning beforehand: this modification voids all warranty claims.
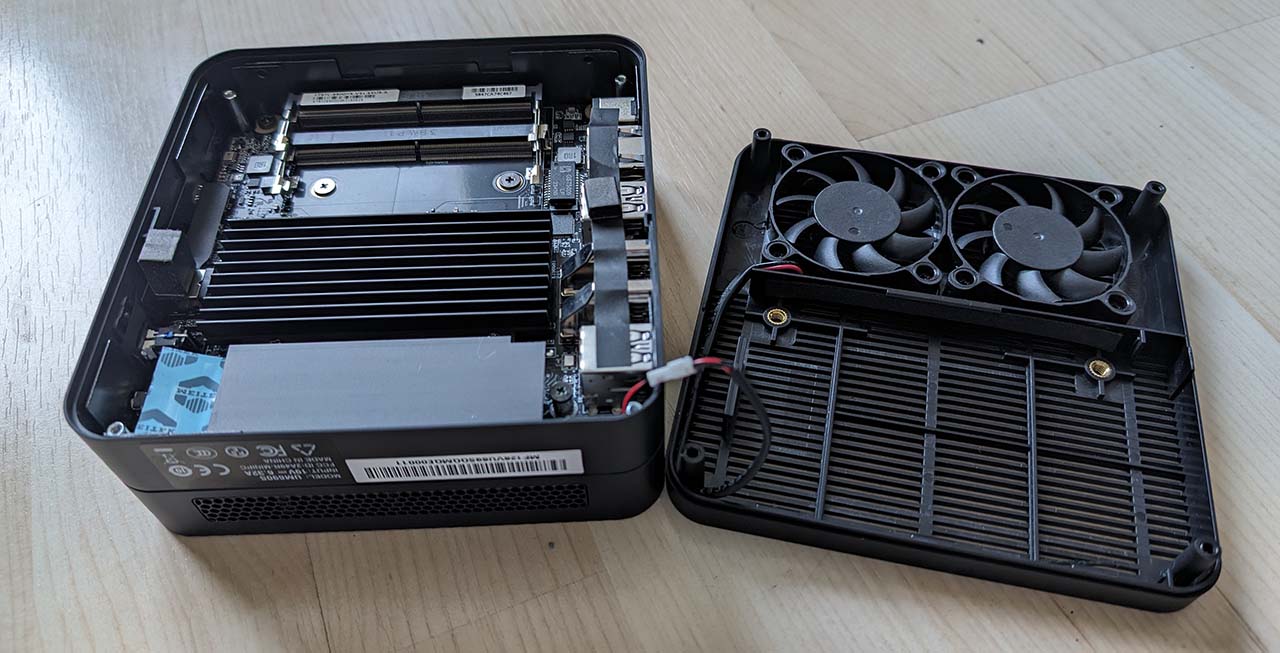
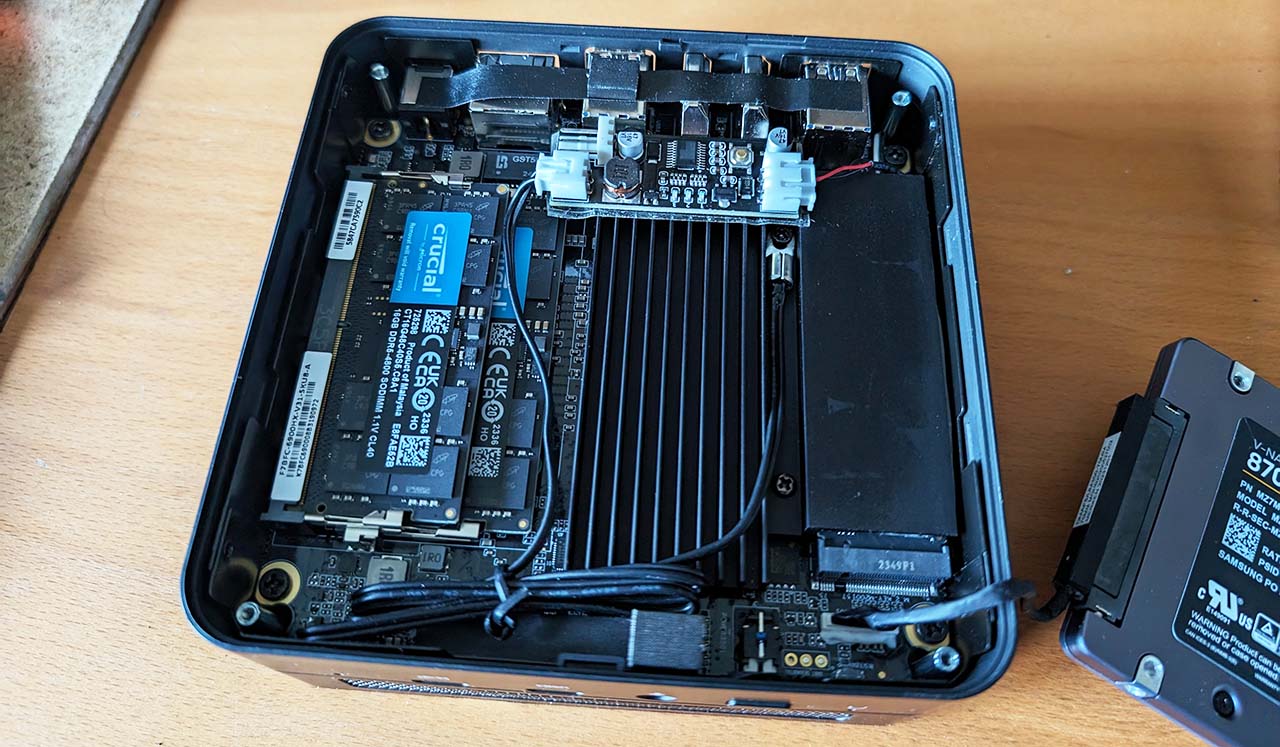
This is what the Minisforum UM690S looks like on the inside. The small fans run at a very high speed, making the computer unpleasantly loud. Therefore, I replaced the small fans with a large 120 mm fan. First, I tried a version with temperature-controlled fan speed, and then another version with a fixed speed.
The Case
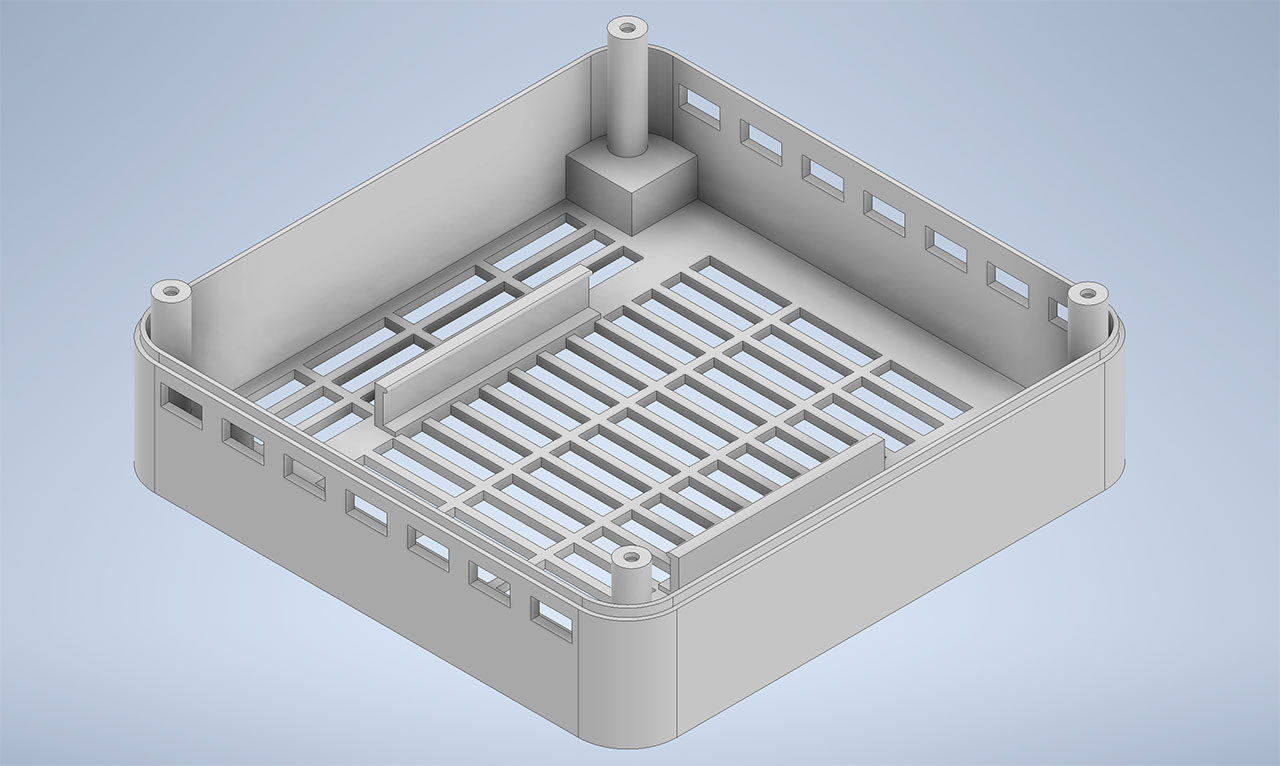
Naturally, a 120 mm fan does not fit in the original case. Therefore, I measured the case as accurately as possible and designed a new bottom. The new bottom has space for the fan and the SSD. To ensure the new bottom is not too high, I chose fans with a height of 15 mm. The design is as follows:
And this is how the case looks when it comes out of the 3D printer:
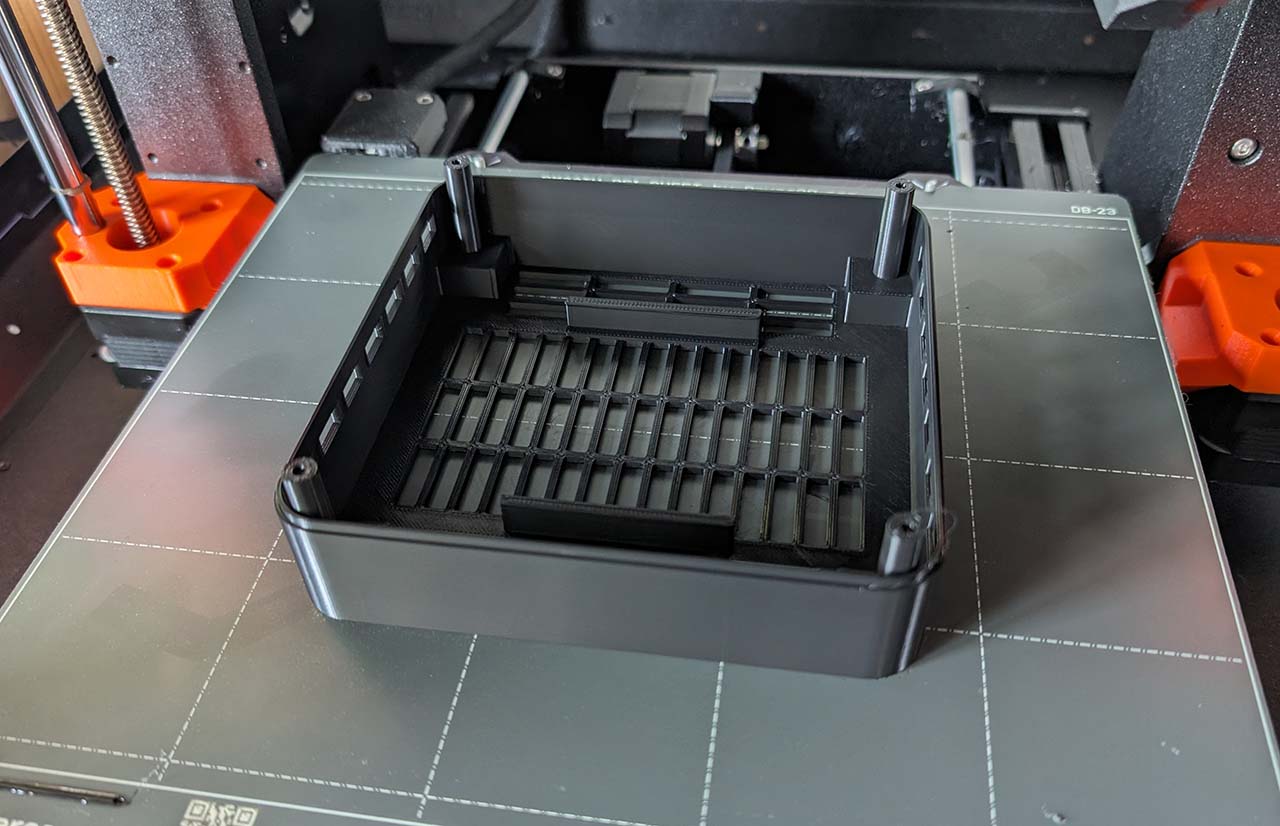
In the case, the SSD is mounted at the bottom in a holder, and the fan is installed above it. The STL file for printing can be downloaded from Printables.
Version with Speed Control
On Amazon, I found a small circuit board that is ideal for controlling the fan. A temperature sensor measures the temperature inside the case, and the fan is regulated accordingly. A small button even allows the control behavior to be configured.
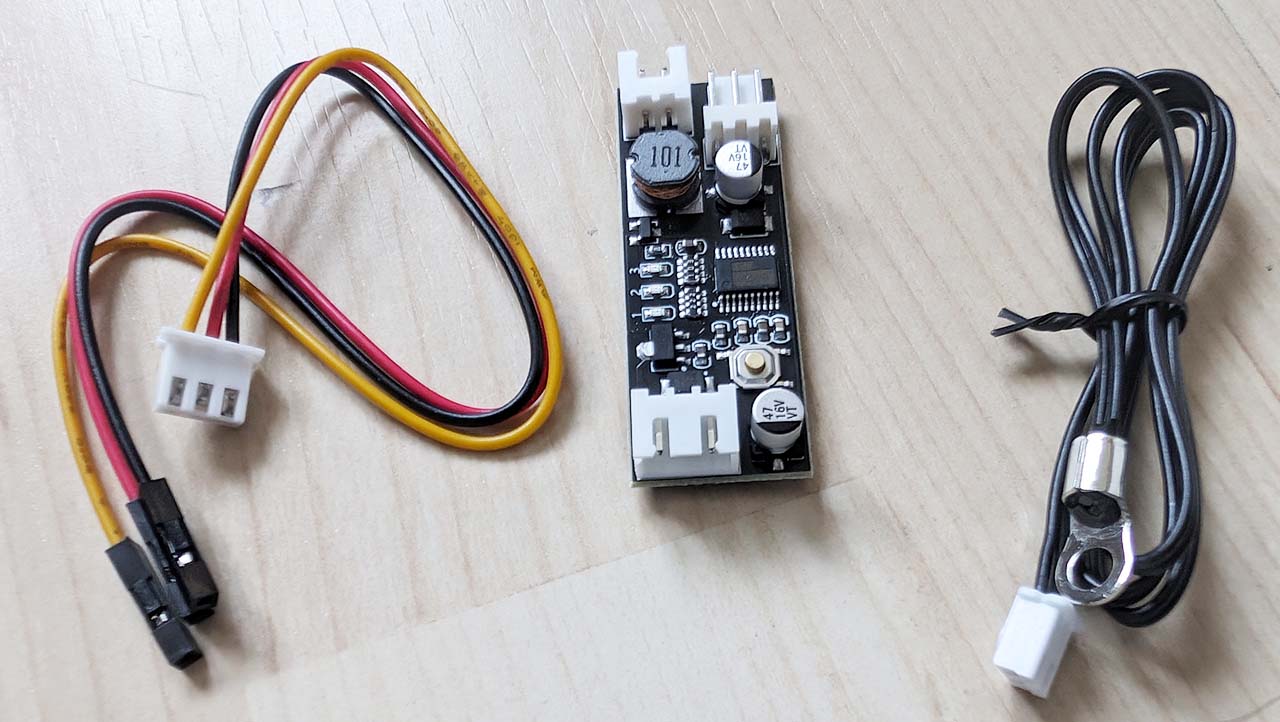
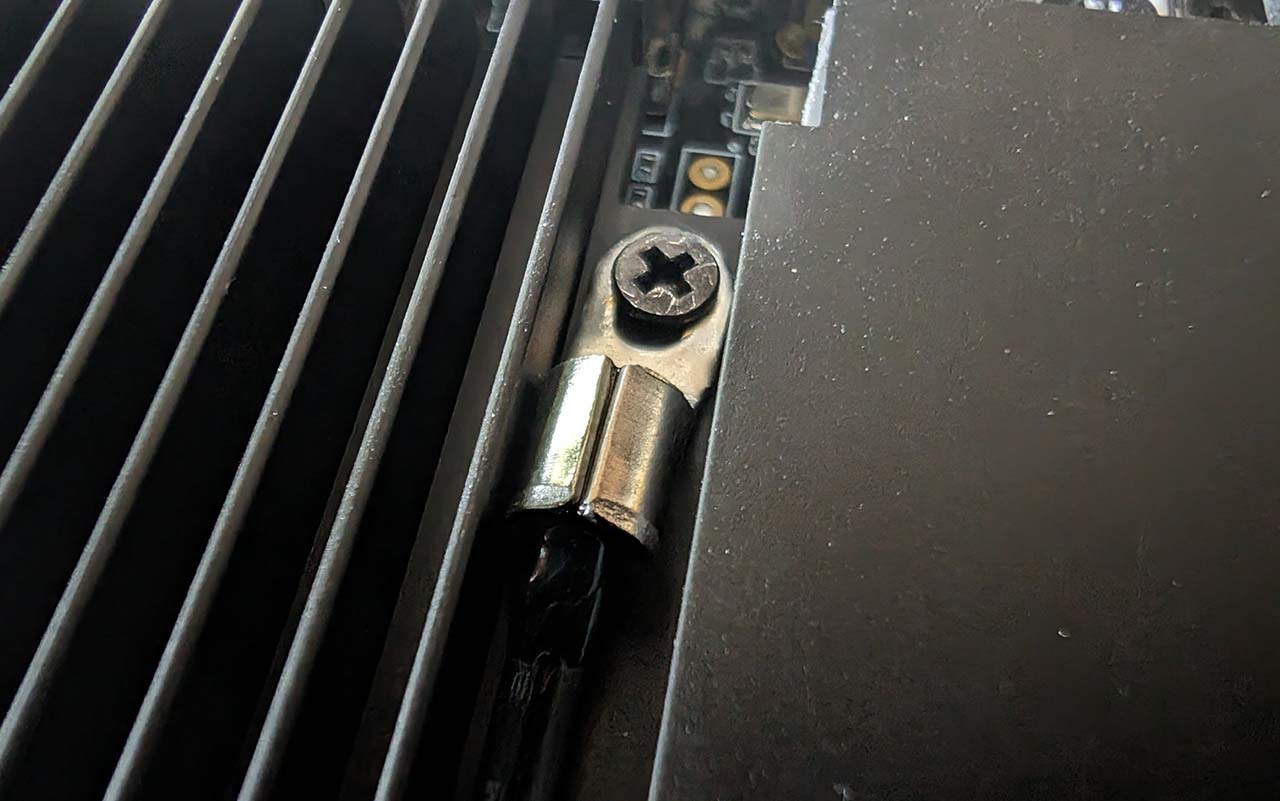
The sensor is simply screwed onto the heatsink of the M.2 SSD. Unfortunately, the screw is a bit too short, but luckily I found a slightly longer screw in my collection. The end of the sensor needs to be gently squeezed with pliers to fit between the cooling fins.
I simply attached the circuit board to the SSD heatsink using double-sided tape.
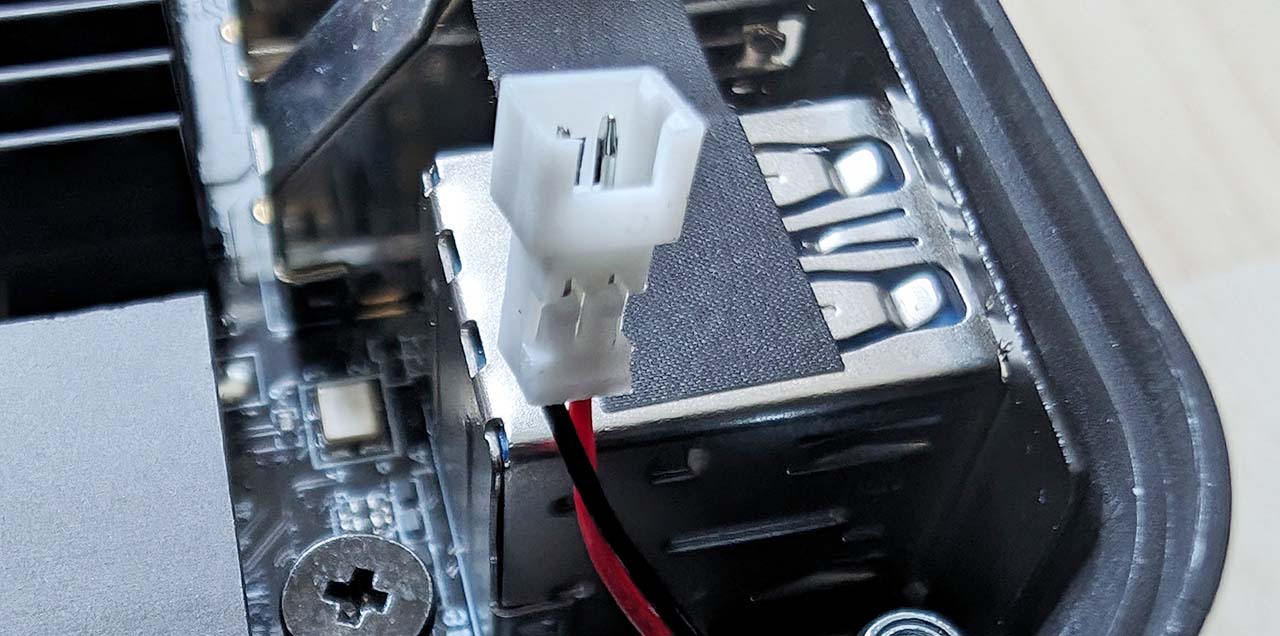
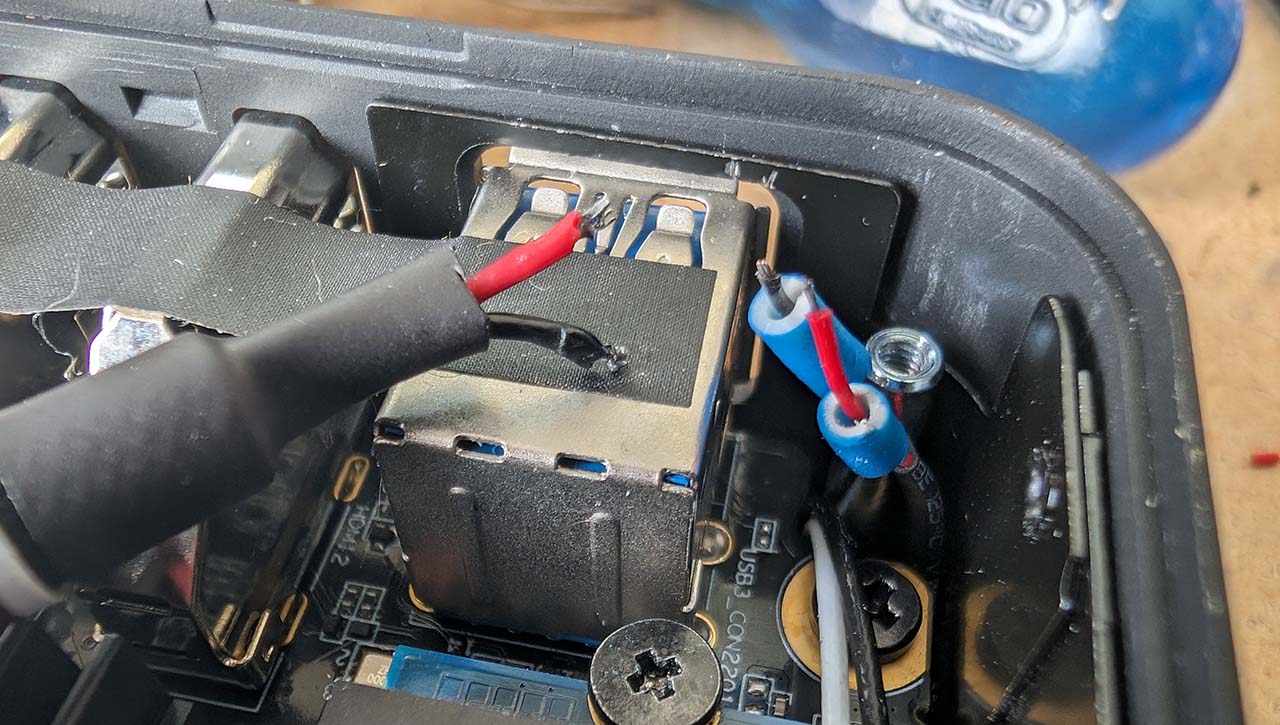
A very delicate point is the power supply. The cable inside the Minisforum computer is very short and uses a connector type that I unfortunately do not have. So, I built a different connector onto the cable that matches the fan controller. However, this was quite fiddly, so I opted for a more radical solution in variant 2. Here is a picture of the original connector:
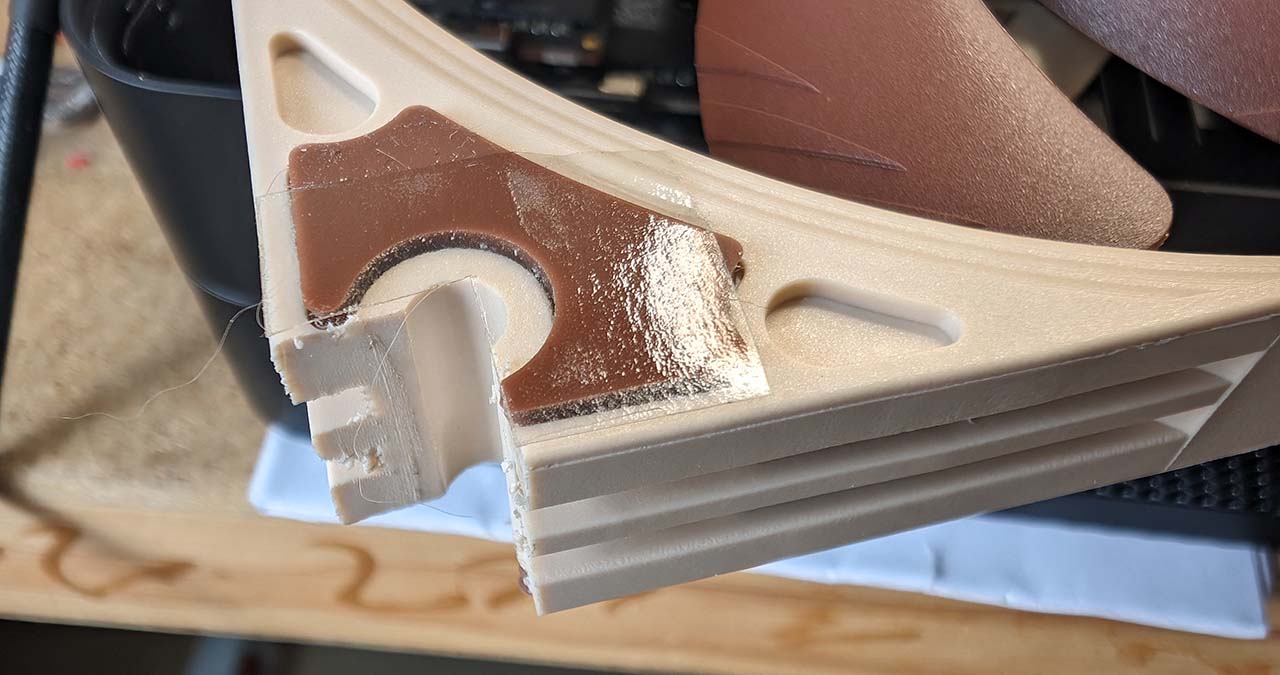
Another issue is the size of the fan. While it generally fits into the case, the four mounting tabs for securing the case are in the way. Therefore, I simply sawed off a piece from each corner of the fan to accommodate this.
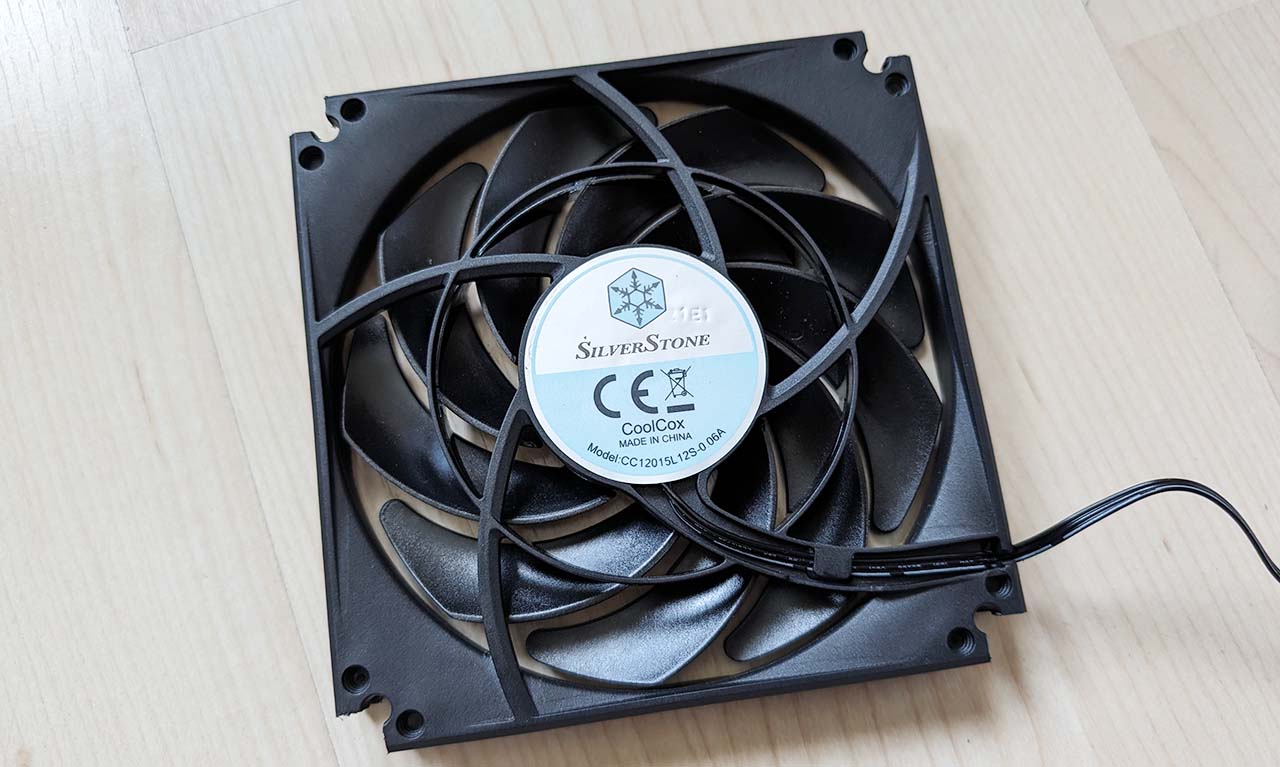
Now the fan fits perfectly into the case!
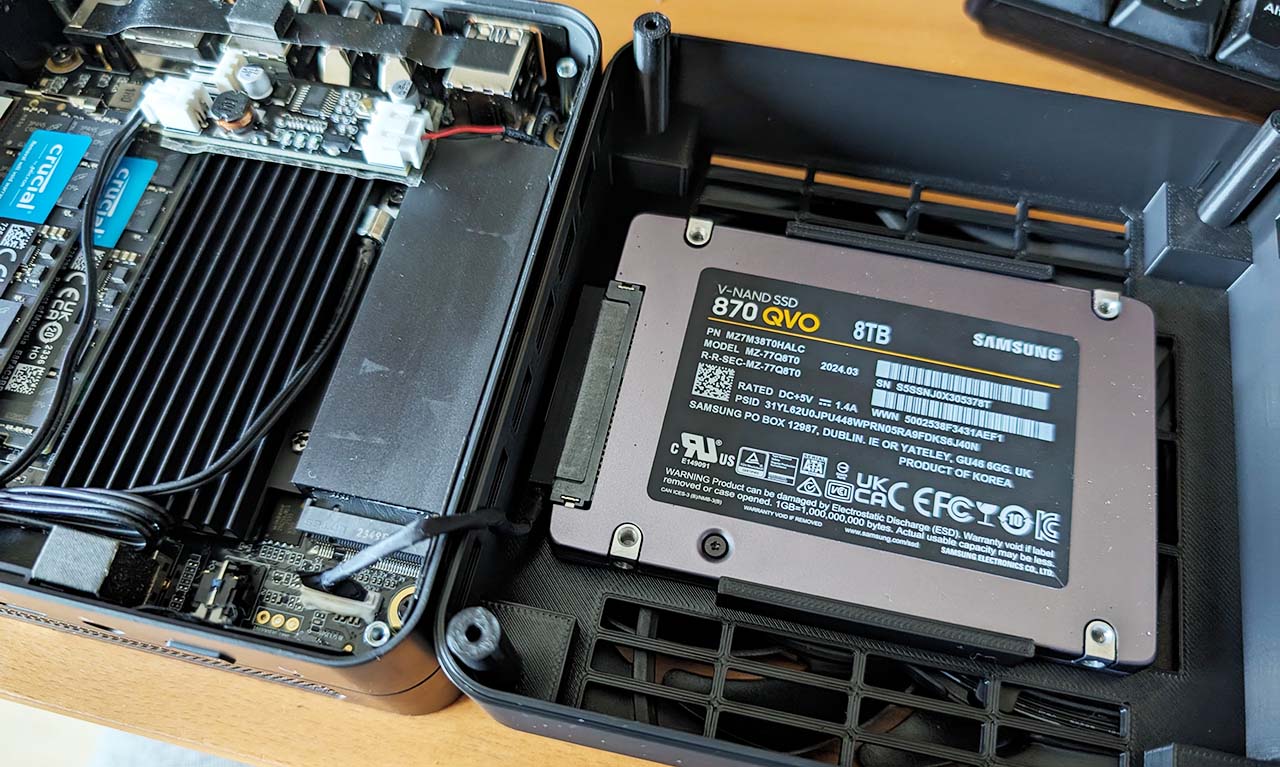
Before assembling the case, the SSD is inserted into the case and connected.
The fan is placed over the SSD. To ensure better stability during assembly, I placed a small piece of double-sided tape on each of the four corners of the fan.
After that, only the fan connector is plugged into the circuit board, and the two parts are screwed back together. This is how the finished modification looks.
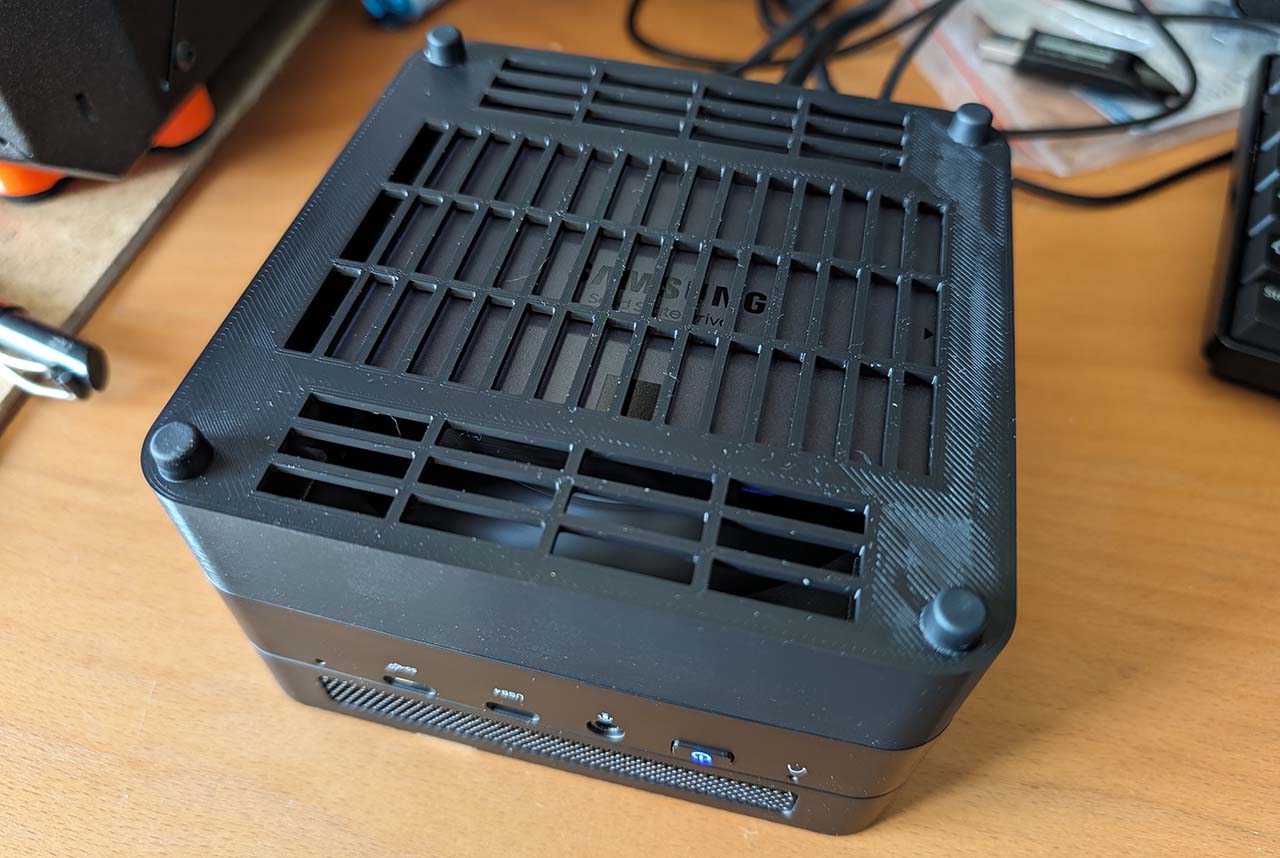
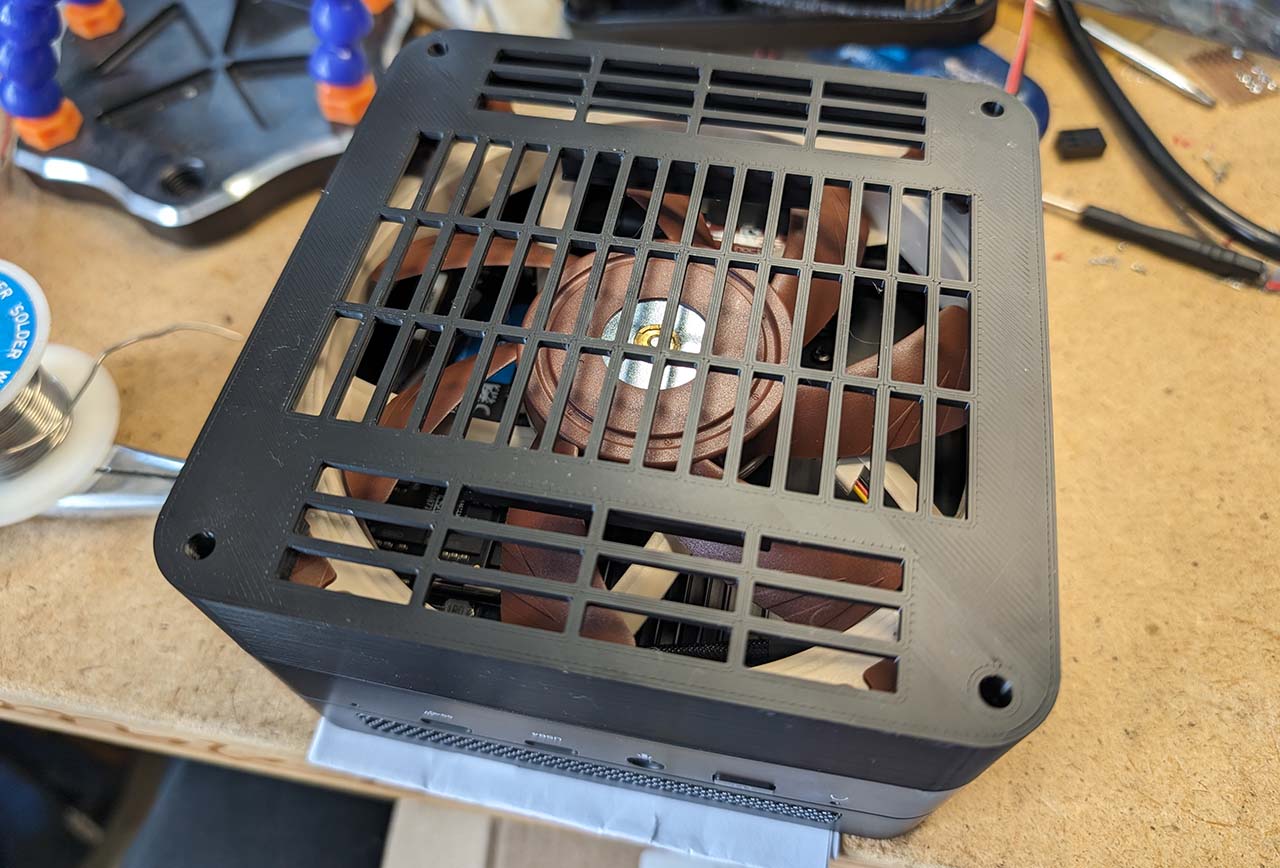
And here is how it looks from the top:
The computer is now noticeably quieter, and visually, I still find it very appealing.
Fixed Speed Variant
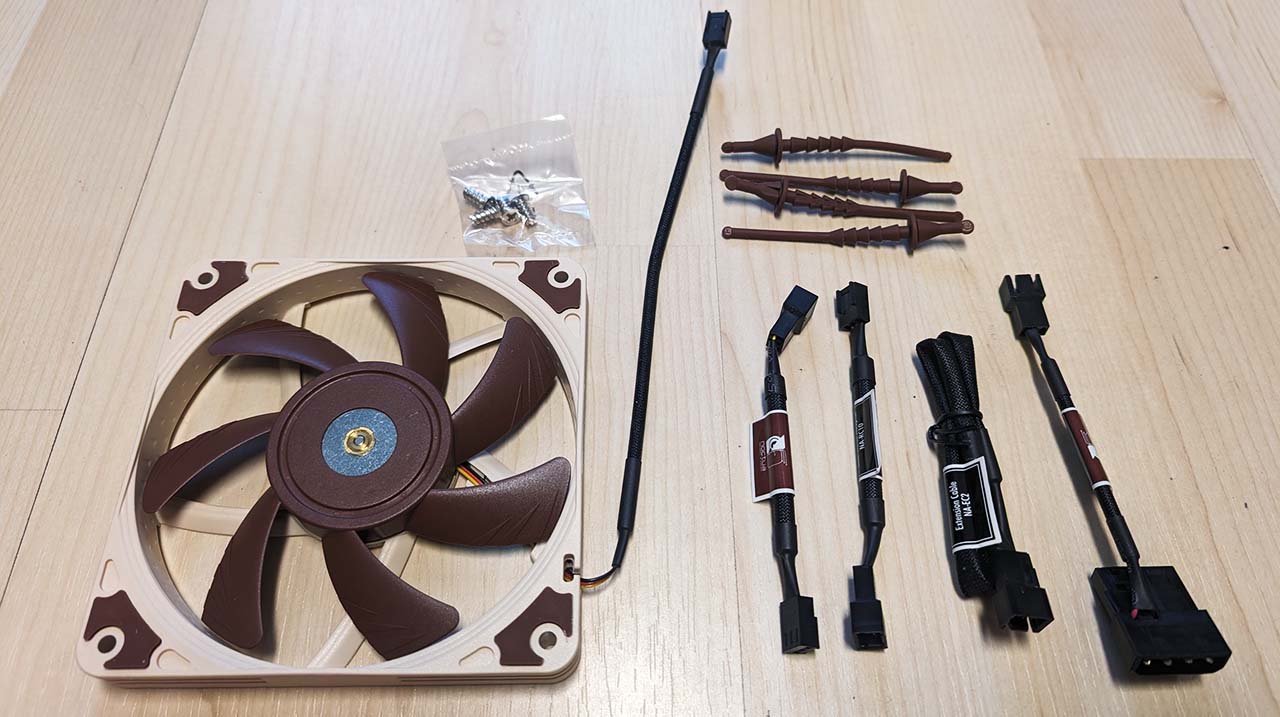
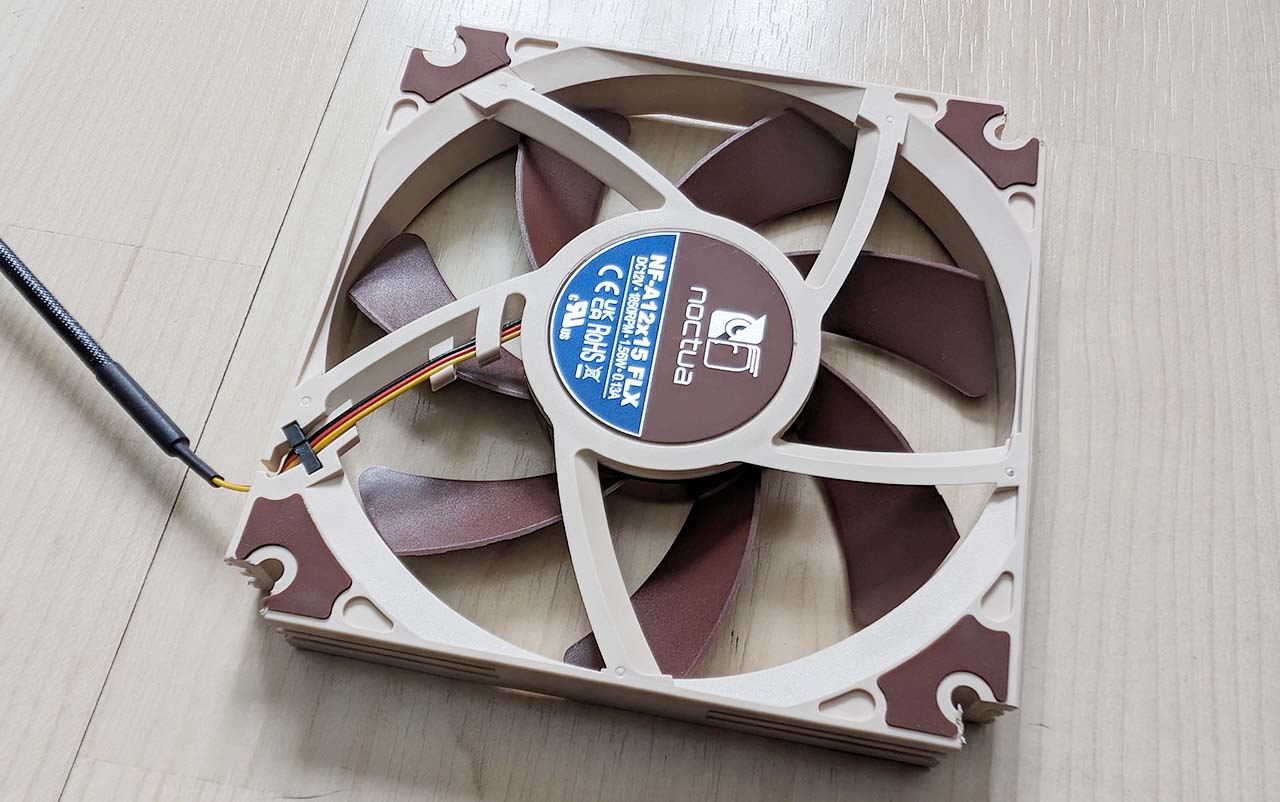
In my second variation, I forgo temperature-controlled fan speed regulation. Instead, I use the very quiet Noctua NF-A12x15 FLX, which comes with low-noise adapters that reduce its speed.
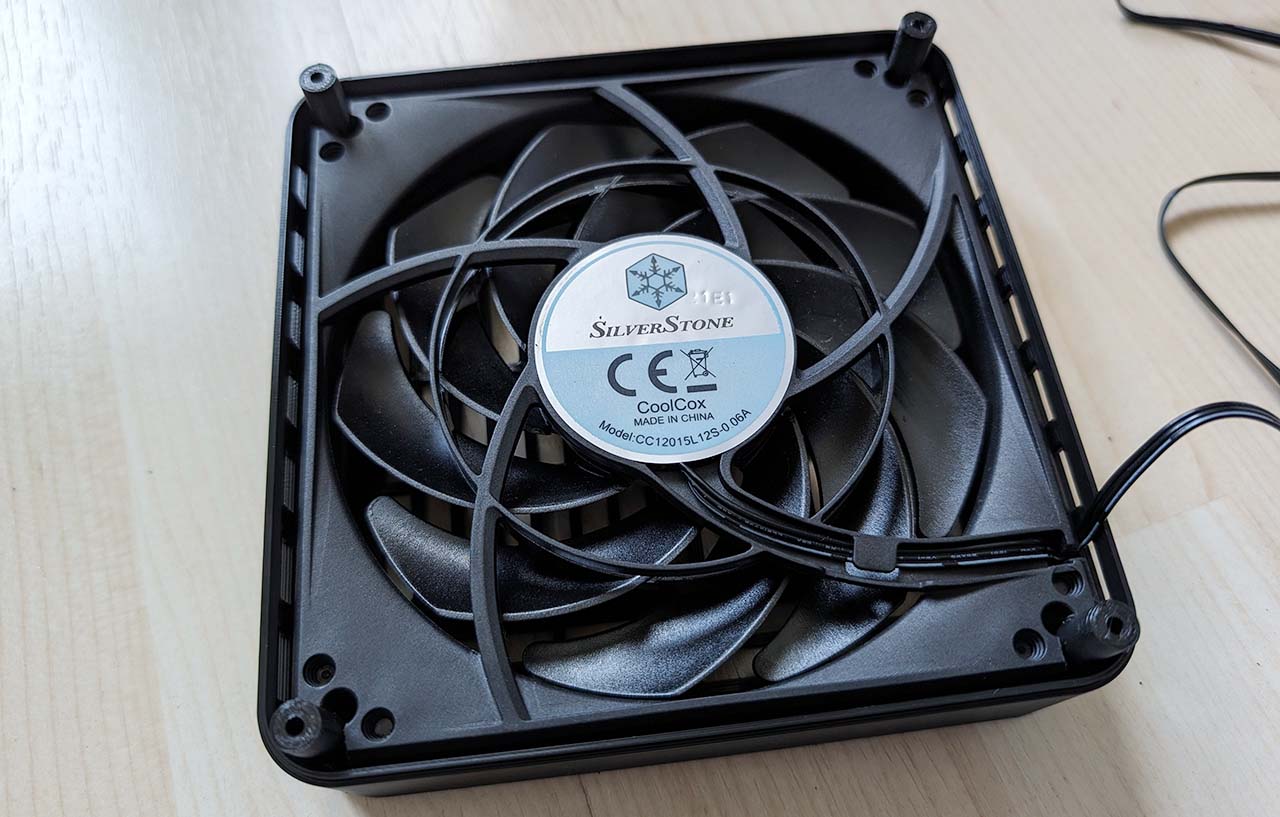
Here again, I have cut out the corners to fit the fan into the case.
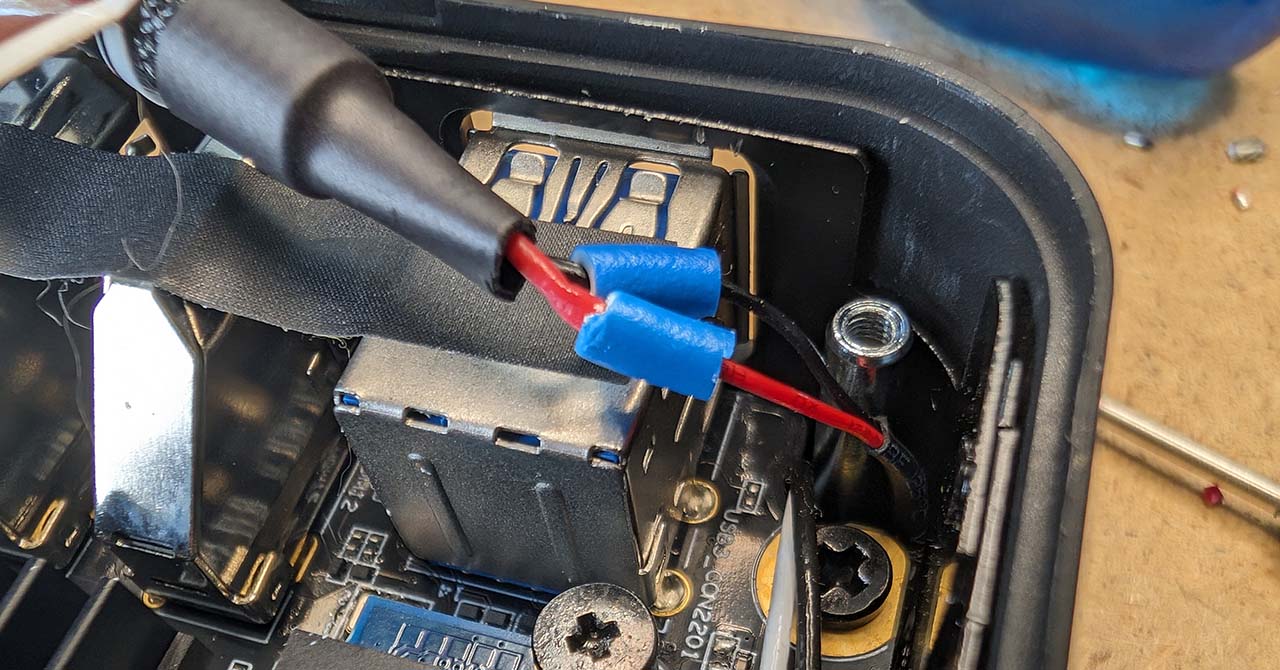
As mentioned earlier, I took a more radical approach to the power connection this time. I simply snipped off the connectors and soldered the wires together.
Before soldering, due to a lack of heat shrink tubing, I threaded the insulation from a thicker wire over the joint. This insulation was then slid over the soldered area.
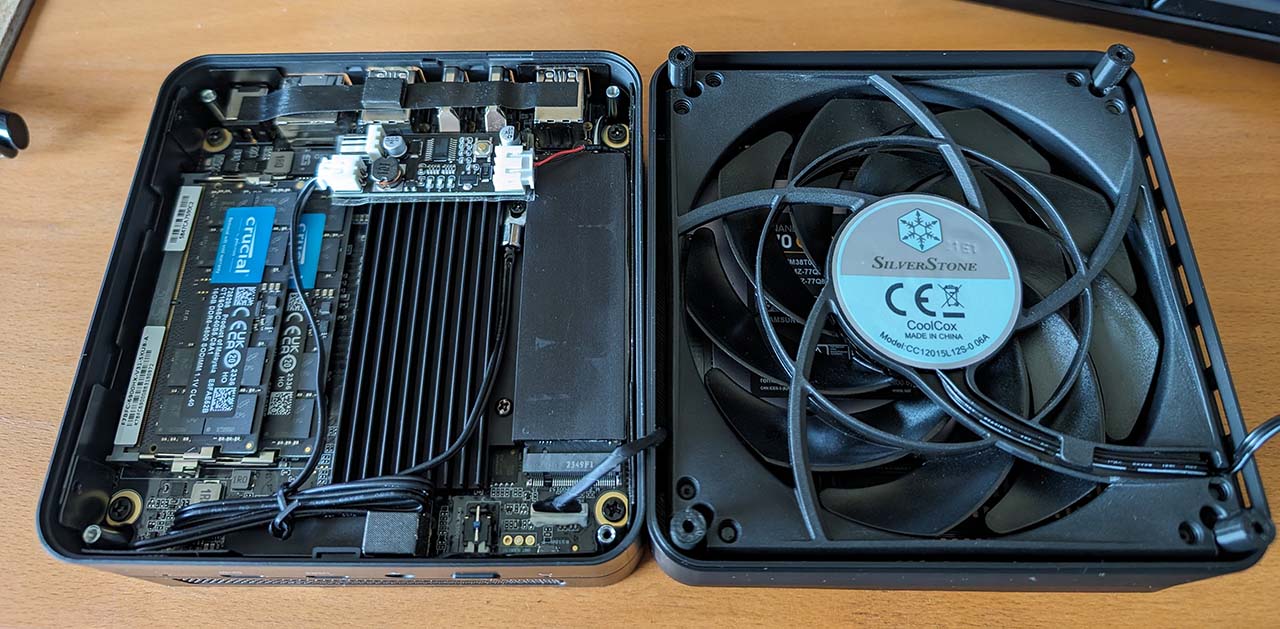
Before screwing everything back together, the computer looks like this:

Here again, I used double-sided tape to prevent the fan from falling out during assembly.
At the end, the computer looks like this from underneath:
And here is the end result:
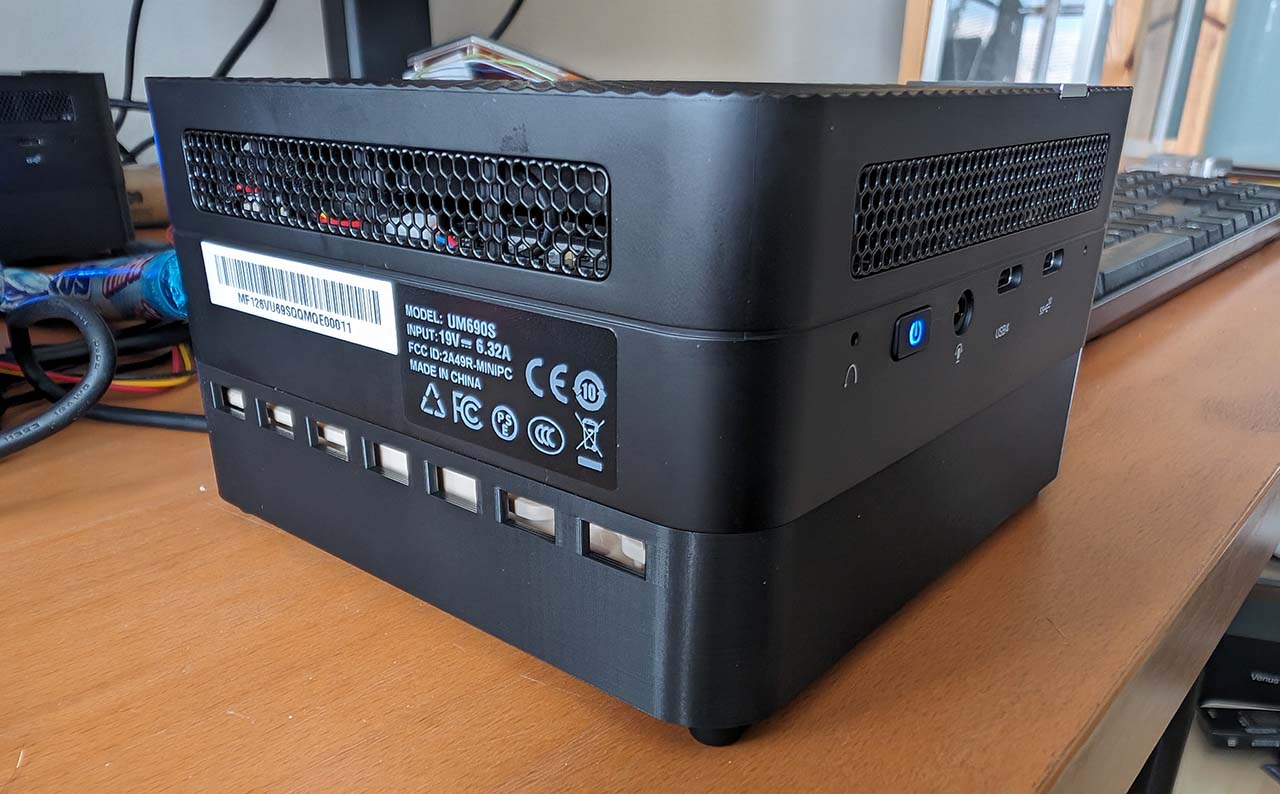
Visually, both variants look identical; you can only see the beige fan through the ventilation holes.
Conclusion
I understand that this modification is far from professional. And I emphasize once again that it voids the warranty. However, having a quiet PC is very important to me, and I have achieved that with this modification. If I knew the connector type of the case fan, I could easily revert this modification without any issues.